Aarti — Finish Lead
Sets the brushing discipline and tests sheen against light. Keeper of straight strokes and quiet planes.
We cut noise out of hardware. From alloy casting to hand brushing, each station keeps the same intent: predictable torque at the hand and planes that age with grace. Scroll the stations; the stitch line fills as milestones come into view.


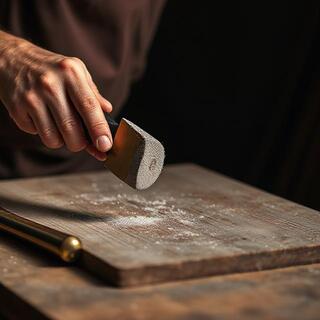
The same people who prototype our grips train new operators, so intent survives scale. We log torque and cycle counts at QC; when something drifts, fixtures are recut and retried before the next lot. For architects, this means fewer surprises on handover and calmer rooms on first occupancy.
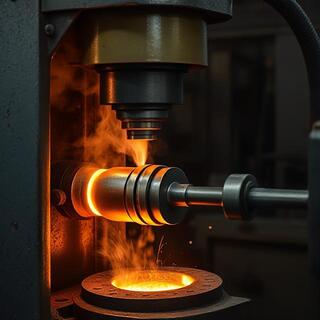
Forging compacts grain and sets strength for a lifetime of pulls. Move the temperature — the hot field reveals the forged frame beneath. We keep heat high, dwell short, and quench clean so bushings and spindles stay true.
Higher heat grows the reveal; the core forms under pressure. On architectural lines we control soak to avoid grain wash — that’s why edges wear gracefully instead of pitting.

Brushed brass, matte black and satin nickel read differently under light. Rotate the stroke and adjust sheen — the overlay shows how grain direction and finish discipline the plane.
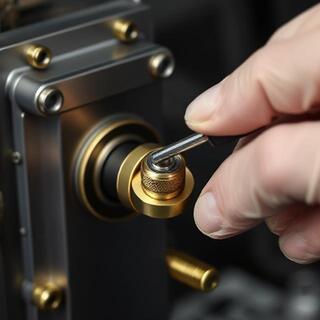
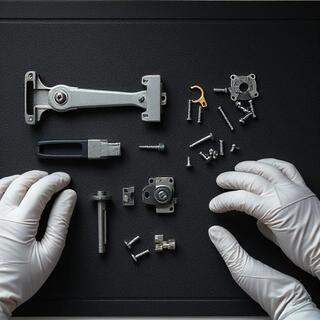
We build intent into the handle, not around it. Preload the spring, mate the spindle and torque to spec — the dial shows how the feel rises at the latch. Turn the slider; steps light up when you’re in range.
We torque every pair, log outliers and recut fixtures when drift appears. Because the same geometry travels across lines, intent survives scale — the first pull feels inevitable, not forced.


We combine simple rigs and disciplined notes. Press Run — indicators fire in sequence; the bar fills as checks complete. Fail any step and the lot is held for rework.
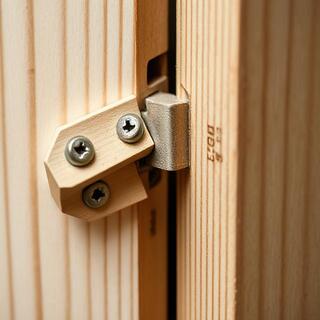
Notes travel with cartons, not inboxes. On hospitality floors we bias quiet strikes and matched hinges; apartments ship flat-numbered sets so fitters meet the same geometry all day.
One carton per apartment keeps site calm. Enter floors and units per floor — we show total sets, cartons required (8 sets each) and how the last carton fills. Labels carry flat numbers for handover.
Total sets: 144 · Cartons: 18 · Last carton: 0/8
Boxes highlight as the last carton fills; earlier cartons ship full.
Architects love simple choices that survive procurement. Tick the matrix: pick the hardware family down the left, then the finish across the top. Selected cells build a spec note you can copy to your BOQ.
0 items selected
We keep geometry common across families, so the hand learns once. Brass warms thresholds; black calms long corridors; nickel stays neutral against pale woods; bronze adds depth on hospitality floors.
Finish integrity and bushing life depend more on cleaning than on chemistry. Choose environment and use case — we’ll give a care interval and a warranty summary that fits Indian projects.
Recommended interval: Every 6–8 weeks. Use a dry cloth first; neutral cleaner only when needed. Avoid scouring pads and circular motion on nickel.
Bars reflect typical exposure. Slider fine-tunes the interval above.
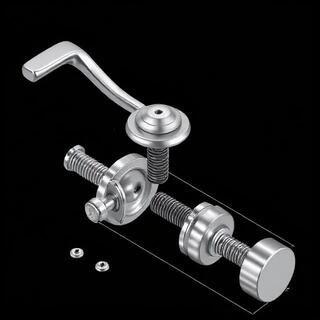
A calm grip comes from inside the assembly — spindle fit, return spring and a disciplined rose. Tap a part below the image to learn what it does in everyday use.
The spindle carries torque, the spring returns the lever, and the concealed rose keeps the sightline clean.
Below are typical windows for Indian projects. Batch size and the chosen finish line move the schedule most; casting and QC stay steady. Times reflect stocked alloys and our regular tool sets; complex custom work extends the finish window.
Expedited lots (hospitality only) are occasionally available at –20% time if door schedules are confirmed before casting; cartons still ship flat-numbered and QC signs off per lot.
Guide only — confirm current capacity with our studio before ordering.
Shown for a standard batch ≈120 sets. Large batches add 1–3 days to CNC/Finish.
Our lines share one grip geometry so the hand learns once. Below are three reference specs used most often in Indian projects — each keeps doors calm across floors and corridors.
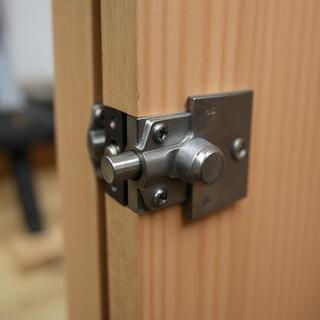
Hinges and stops ship colour-matched; cabinet pulls mirror the same silhouette so kitchens and wardrobes keep the story. For mixed-metal accents, we pair brass levers with nickel accessories on coastal projects.
The same people who prototype our grips train new operators, so intent survives scale. A few of the faces you’ll see on video calls and on the floor.
Sets the brushing discipline and tests sheen against light. Keeper of straight strokes and quiet planes.

Logs torque and cycle counts; holds lots when bushings drift. You’ll see his notes on your cartons.

Preloads springs, mates spindles and torques to spec so the first pull feels inevitable, not forced.
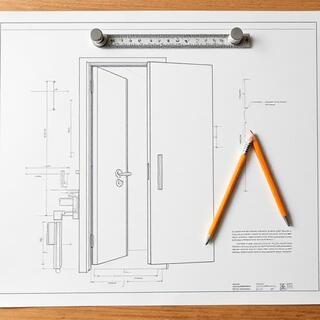
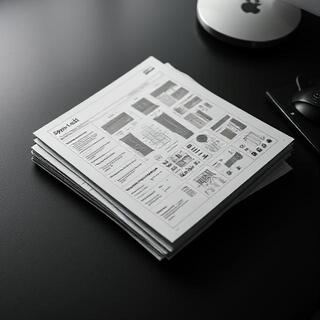
Clear drawings cut noise at site. We issue one bundle per line: plan/elevation with edge radii, spindle spec, return spring note and concealed fixing detail. The same geometry repeats across levers, pulls and hinges, so the hand learns once while schedules stay short.
For hospitality handovers we add flat numbers on cartons; QC signs each lot so punch lists remain short. If a project swaps a finish late, geometry remains identical — only the finish page changes.

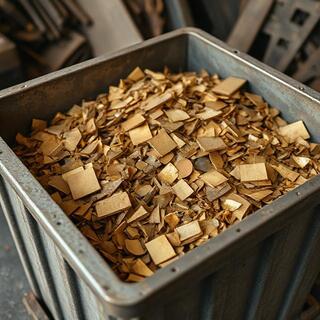
Brass lives well in a loop. Off-cuts from CNC return to the melt; cartons ship flat-numbered so returns don’t turn into landfill. We minimise plastic and keep parts wrapped in paper sleeves that can be recycled.
We publish a simple sheet with weights, finishes and care intervals; hospitality teams keep it with the BOQ so the building stays calm without specialist crews.


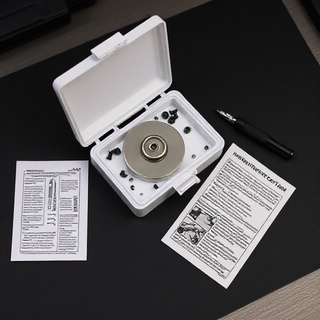
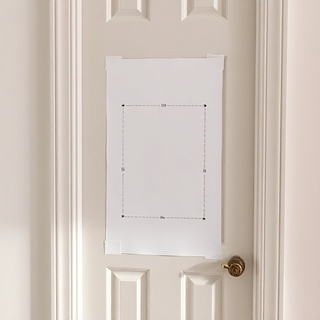
Calm handovers come from predictable holes and torque that sits inside the range. Templates and notes below reflect typical Indian door sets — laminate, timber and fire doors with metal frames.
If you change a lever line mid-project, keep returns and roses consistent so grips read the same across floors. Our service WhatsApp answers drawings questions quickly; send a photo and a flat number.